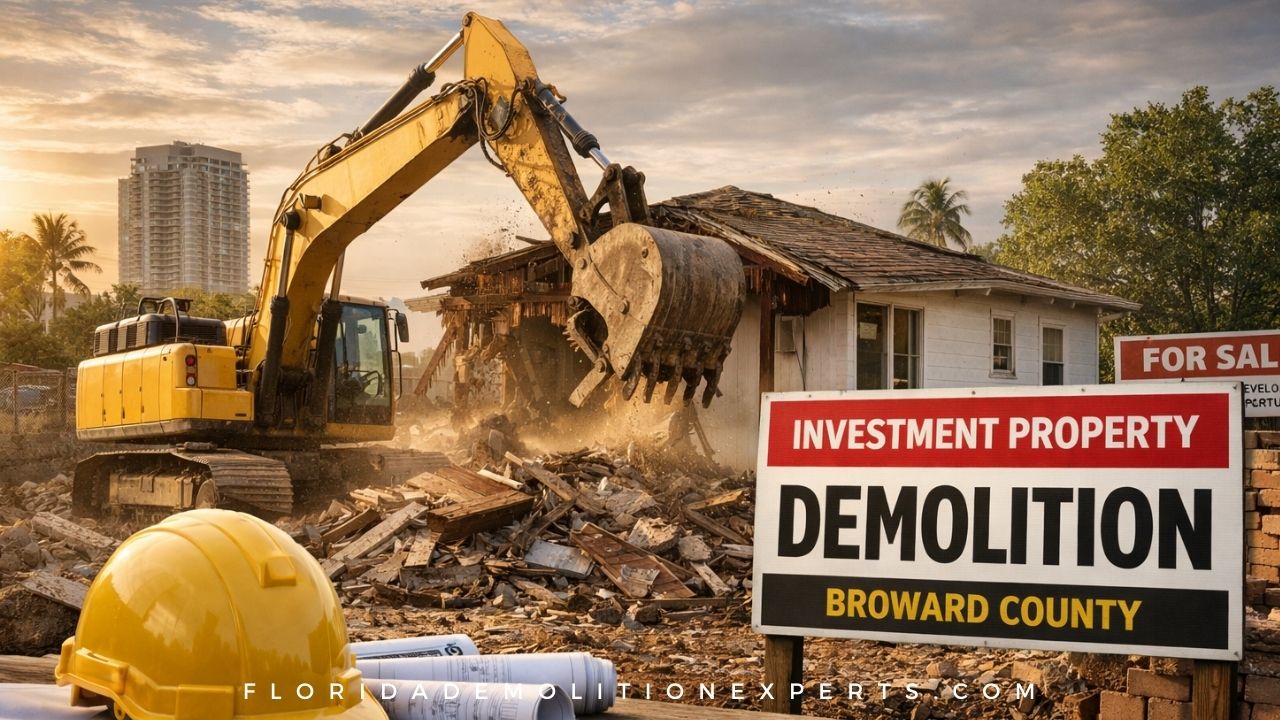


Are you considering tearing down a house? Are you sure you’ve budgeted for everything that doesn’t appear on the first bid?
Residential demolition can look straightforward: Bring in the excavator, haul off debris, and you’re done. In reality, the true price tag often includes a maze of permits, inspections, utility work, material testing, and site restoration. Miss any of these, and your “simple” demo can turn expensive fast.
Below is a practical, plain-English guide to the most common hidden costs and how to plan around them so you stay on schedule and budget.
Why Demolition Bills Grow After Work Begins
Most surprise charges result from unknown site conditions (what’s under or inside the structure) and scope gaps (items no one explicitly included in the contract). Good planning can illuminate both.
The 18 hidden costs owners overlook
Permits & plan review
Fees vary by city/county and can include demolition permits, right-of-way or road-closure permits, and inspection re-visits if you fail the first time.
Utility disconnects, caps, and meters
Permanent shutoffs for electric, gas/propane, water, sewer, well capping, and septic pump-out/abandonment. Utilities often require lead time and may charge their own fees.
Asbestos, lead paint, and other hazardous materials
Testing before demolition is often mandatory. If detected, abatement (removal) and air monitoring add time and cost.
Environmental testing & reporting
Think soil screening near old garages, fuel tanks, or workshops; NESHAP notifications where applicable; clearance letters for closing out permits.
Rodent/pest abatement
Many jurisdictions require proof of rodent control before demolition to prevent infestations from spreading to neighbors.
Tree protection, pruning, or removal permits
Even trees you think are “on your property” may be protected. Damage to root zones can trigger penalties.
Site access prep
Temporary drive mats, fences, gates, and protection for sidewalks/curbs, plus street-sweeping after heavy truck traffic.
Erosion/stormwater control
Silt fence, inlet protection, and stabilization (mulch or temporary seed). Required more often than people expect.
HOA/ARC approvals & historic or coastal overlays
Neighborhood or overlay rules can add design reviews, specific fencing, or limited work hours.
Debris hauling & disposal tonnage
Tipping fees are weight-based. Wet material or concrete foundations can blow past allowances if they are unclear.
Recycling & diversion requirements
Some areas require proof that a percentage of debris was recycled. Sorting costs time and money if not planned up-front.
Underground surprises
Old slabs or footings, cisterns, irrigation lines, septic fields, abandoned oil/fuel tanks, or a pool that no one mentioned.
Backfill, import/export, grading & compaction
After the structure is gone, you may need engineered fill, compaction tests, and rough grading to prep for future construction.
Dust, noise & neighbor protections
Water trucks or misters, noise curtains, and daily street cleaning, especially in tight urban lots.
Temporary power/water for the crew
If the site needs temp service or tanks, that’s an add.
Mobilization minimums
Small projects still pay for equipment transport, setup, and staging.
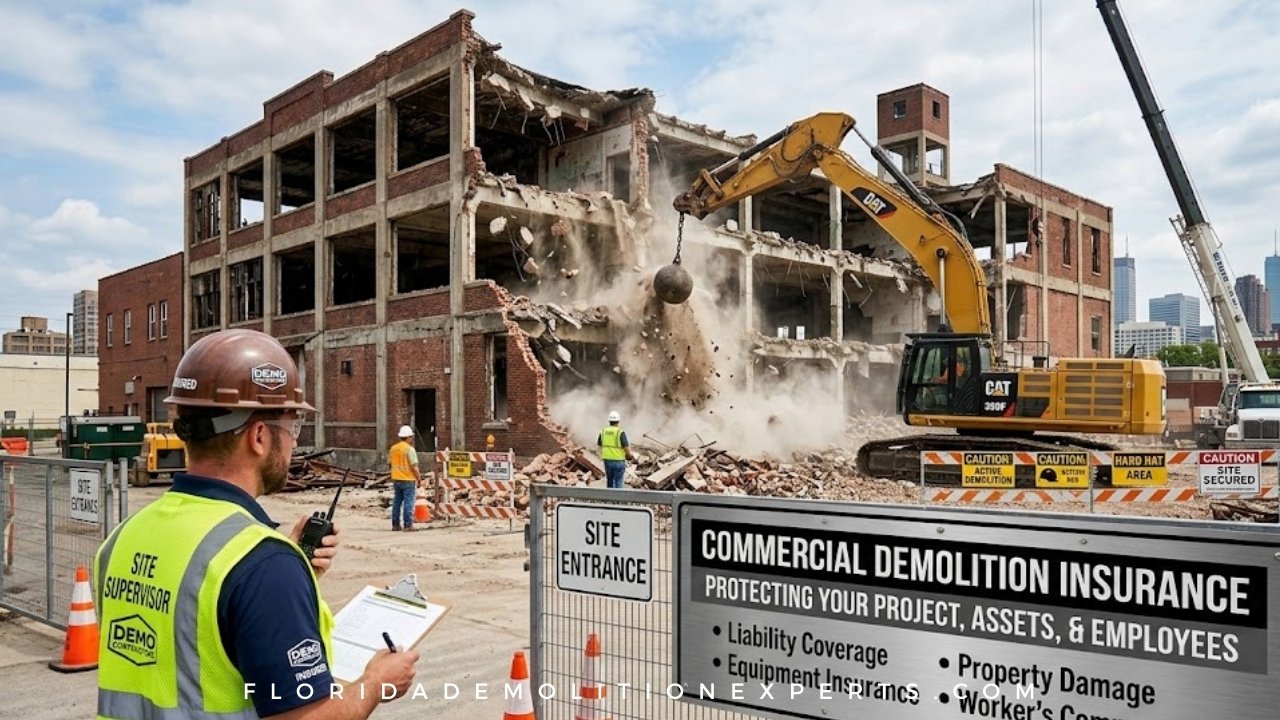
Insurance, bonds & license fees
Additional insured endorsements, performance bonds, or higher limits required by lenders/HOAs can add cost.
Change orders from vague scopes
“Remove house and debris” is not a scope. Lack of line items invites extras once work starts.
How to avoid (most of) these costs: a step-by-step plan
Start with a site walk + utility locate (811).
Mark active and abandoned lines; confirm shutoff points and who’s responsible for each disconnect.
Order pre-demo hazardous materials testing.
A licensed assessor should sample suspect materials (flooring mastics, popcorn ceilings, pipe insulation, etc.) and build abatement costs into the base plan, not as a surprise later.
Define the scope in writing with line items.
Require a proposal that lists inclusions and exclusions: permits, disposal, abatement, foundation removal, backfill type/volume, erosion control, tree work, street sweeping, final grading, videos/photos, and haul tickets.
Spell out allowances and unit rates.
Get it in writing for tonnage thresholds, per-ton disposal rates, per-yard import fill, and hourly equipment rates for unforeseen rock/tanks.
Assign permit responsibility to one party.
Name who pulls it, schedules inspections, and pays re-inspection fees if work fails.
Require daily logs and photo documentation.
Before/during/after pictures, load counts, disposal receipts, and recycling certificates reduce disputes.
Tie payments to milestones, not dates.
Examples: “Permit issued,” “Utilities capped & verified,” “Structure removed,” “Backfill & rough grade complete,” “Final inspection passed.”
Hold a pre-construction meeting with neighbors.
Share schedule, work hours, parking plan, and dust/noise controls to prevent complaints (and stop-work calls).
Budget a contingency.
10–20% is typical, depending on the structure’s age, prior remodels, and known environmental risks.
Close out properly.
Collect final inspection sign-offs, disposal/recycling documentation, and site stabilization certificates if applicable.
Florida-specific watch-outs (read this if you’re building here next)
- Utility coordination: Contact 811 before digging and confirm city/county utility cut/cap requirements; many Florida jurisdictions require proof from the utility provider.
- Septic & well: Florida homes commonly have legacy septic systems or wells; abandonment and documentation must meet Department of Health and local codes.
- Stormwater & erosion control: Flat, sandy sites still need silt protection to keep sediment out of drains and waterways.
- Coastal or flood zones: Extra protections and limited access windows may apply; verify any special coastal, mangrove, or dune protections with your local authority.
- Hurricane season planning: Build in weather days and secure debris promptly to avoid windborne hazards.
Innovative ways to save (without cutting corners)
- De-scope what you don’t need: Salvage high-value items (fixtures, hardwoods) before demo.
- Bundle work: If rebuilding, have your builder and demo contractor coordinate grading and import/export to reduce duplicate mobilizations.
- Choose experience over the cheapest number: A seasoned crew prevents damage claims and re-inspection fees.
- Schedule strategically: Avoid peak disposal periods and plan around weather to limit delays that trigger extra trips or standby time.
FAQ’s
Do I need a demolition permit for a single-family home?
Almost always. Many jurisdictions also require that utilities be disconnected and verified before the permit is issued or demolition begins.
Who handles utility shutoffs?
You can, but most owners have the contractor coordinate with providers. Make sure your contract states who pays the utility’s fees.
Can I live in the house during interior demolition?
Not recommended. Dust, noise, and safety risks are significant, and containment adds cost.
What happens to the debris?
Your contractor should spell out disposal sites and provide haul tickets. In some areas, recycling diversion is required for permit close-out.
How long does demolition take?
Depending on the structure’s size, access, materials, and permitting, not counting pre-work like testing and disconnects, it can take a day to a couple of weeks.
Ready to demolish in Florida?
Florida Demo Expert has a professional, safety-first team that handles everything from permits and utility coordination to testing, abatement, debris recycling, and final grading so you don’t get hit with surprise change orders.