
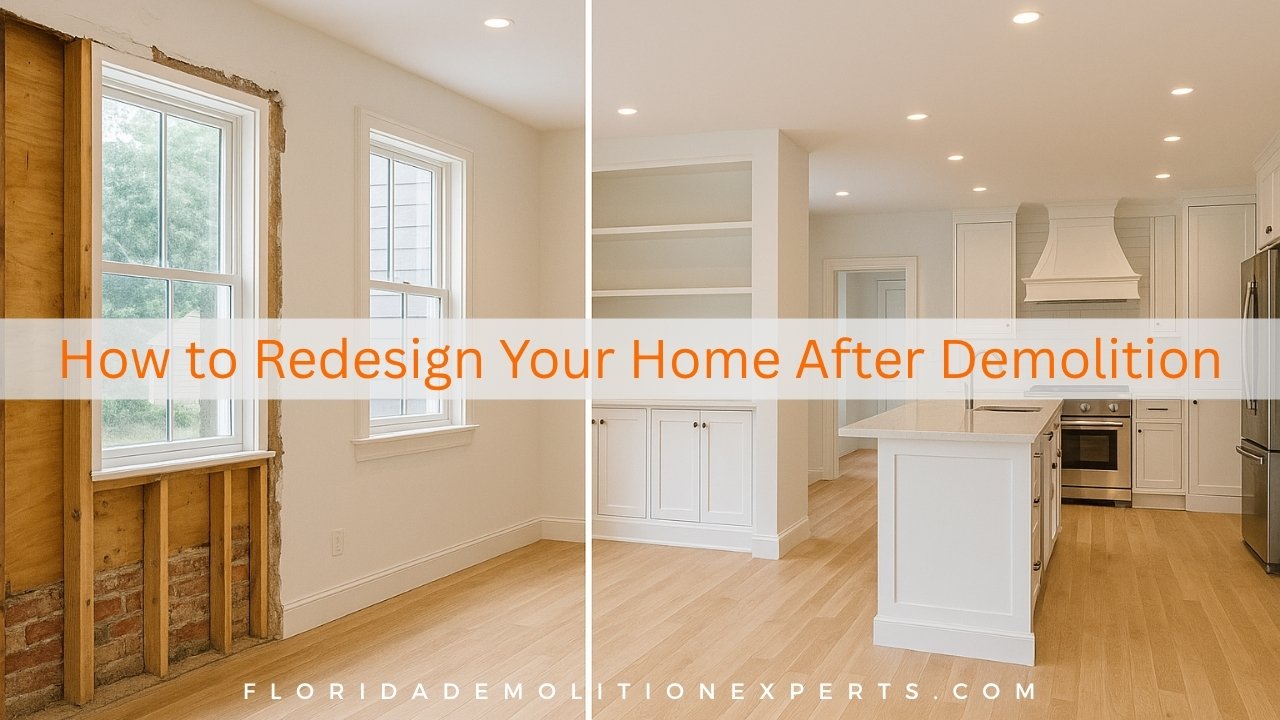
You have a unique opportunity when you’ve just cleared the old structure, whether a complete teardown or a large-scale interior demo.
Redesigning your home after demolition gives you a practically blank canvas. But without direction, that freedom can become overwhelming.
Follow these seven practical and creative tips to guide your redesign, maximize value and functionality, and avoid common mistakes.
Top 7 Tips for Redesigning Your Home
1. Start With the Big Picture: Define Function & Flow
Before choosing finishes or fixtures, step back and ask: How will we live in this space?
- Map out your daily routines where you cook, work, relax, entertain, and store.
- Consider open-plan versus defined zones. Demolition often opens spaces; decide what stays open and where you may want more privacy or separation.
- Sketch the traffic flow: how people move through the space, where key sight-lines are. Good flow saves frustration later.
- Align your redesign with your long-term goals (kids, aging in place, resale).
- Taking this holistic view prevents redoing work after you’ve already ordered materials.
2. Address Structure & Systems Early
With walls removed, you have access to the building’s bones. Ignoring this step is a common oversight.
- Inspect load-bearing walls and consult a structural engineer if you opened them up.
- Upgrade or relocate plumbing, HVAC, and electrical while studs are exposed. It’s far easier now than later.
- Check insulation, framing, and building envelope. This is your chance to improve energy efficiency.
- Clean the slate (literally): remove any hidden hazards, such as old wiring, asbestos, lead paint, or mold.
- If you get the structure and systems right now, everything else flows more smoothly.
3. Define Anchor Zones & Focal Points
Your redesign should incorporate anchor spaces and areas that ground the home and shape its character.
- Choose a focal point: a large window, a feature fireplace, or a kitchen island. This becomes the visual center.
- Create zones for living, dining, workspace, and storage. Differentiate them with flooring changes, ceiling treatments, and lighting.
- Make transitions intentional: even in an open-plan layout, a subtle change in material or level signals movement from one zone to another.
- By consciously crafting these zones, you create cohesion and avoid a bland, everything-blends-together look.
4. Select Materials That Work Hard & Look Right
Because you’re starting fresh, every material choice matters more. Choose for durability, aesthetics, and value.
- Flooring: pick something durable (hardwood, engineered wood, high-quality tile), especially if you have children or pets.
- Walls and finishes: To add depth, consider full-height paint, accent walls, and textures (e.g., plaster, board, and batten).
- Countertops, backsplashes, and hardware should align with your focal zones and zones of high-use.
- Try to source materials, smartly look for longevity over trends; it pays off in daily life and resale value.
- Well-chosen materials are harder to replace later, especially once living in the space.
5. Integrate Smart Storage & Hidden Functionality
Demolition gives you the freedom to incorporate storage seamlessly rather than retrofitting later.
- Create built-in cabinets or shelves that follow the wall lines you’ve exposed or removed.
- Use under-utilized zones: beneath stairs, behind false walls, above doorways.
- Consider flexible furniture that can serve multiple roles: e.g., a media wall that includes workspace.
- Keep it hidden or streamlined: minimal visible clutter ensures your redesign looks intentional rather than patchwork.
- Storage may not be glamorous, but a well-organized home is a design win.
6. Bring Light & Views Into the Design
Post-demolition, you may have more flexible sight lines and opportunities to re-frame the outdoor connection.
- Maximize natural light: choose windows or doors strategically; consider skylights if practical.
- Frame views: orient key zones toward outdoor vistas or landscaping.
- Layer lighting: combine ambient, task, and accent lighting to make the home feel lived-in and dynamic.
- Use reflectives: light-coloured finishes, mirrors, glass railings or panels amplify daylight and make spaces feel larger.
- Redesigning after demolition means you can plan light consciously, not just as an afterthought.
7. Personalize With Character & Texture
Once the bones and basics are set, it’s time to make the space yours.
- Choose signature design elements, an accent wall color, a striking light fixture, and a reclaimed-wood feature.
- Mix textures: soft (rugs, upholstery) and hard (metal, stone) to keep the space inviting.
- Incorporate one or two statement pieces: furniture, artwork, or unique hardware that draws the eye.
- Respect cohesion: especially in a large-scale redesign, ensure the aesthetic flows from zone to zone.
- Personalization sets your redesign apart from off-the-shelf homes; it reflects your lifestyle and values.
Why These Tips Matter
Renovation content online often emphasizes big spend but overlooks planning or flow. These seven tips center on function first, aesthetic second, with durability and value in mind. Whether your project is for your long-term home or resale, the approach remains robust.
According to renovation industry research, planning, structure, and systems consume the most significant proportion of project time, yet, when done well, deliver the most substantial value.
Ready to Get Started? Partner With the Pros
When the scope is significant, especially involving structural changes or complete demolition, it pays to work with experienced professionals.
If you are in Florida and looking for reliable, expert demolition services, we recommend Florida Demolition Experts.
Their team handles safe, efficient demolition with full regulatory compliance and debris management, giving you a clean slate for your redesign.
Contact Florida Demolition Experts and set yourself up for a smooth transition into your new space.