

A kitchen remodel often starts with demolition, tearing out cabinets, removing old appliances, and clearing the space for a fresh layout. But one wrong swing of a hammer can crack a water line, break a drainpipe, or cause a costly leak inside the walls.
That’s why kitchen demolition must be done safely, with careful planning and attention to plumbing.
Suppose you want to save money by doing part of the demolition yourself or want to understand the process before hiring a professional crew.
In that case, this guide explains how to perform a safe kitchen demolition without damaging your plumbing system.
Why Plumbing Safety Matters in Kitchen Demolition
Plumbing damage during demolition is one of the most common and most expensive mistakes homeowners make. A broken pipe can flood the kitchen in seconds, weaken walls, damage subflooring, and delay your renovation for weeks.
Here’s why extra caution is critical:
- Hidden pipes run behind walls, under floors, and inside cabinets.
- Even a small crack can lead to major leaks during the rebuild phase.
- Repairing plumbing damage can cost more than the entire demolition budget.
Understanding where pipes are located and following a step-by-step removal plan helps prevent unexpected disasters.
Step-by-Step Guide: How to Demolish a Kitchen Safely
Below is an innovative, safe, and systematic method to handle kitchen demolition without touching or damaging plumbing lines.
1. Shut Off Water and Electricity First
Before touching anything:
- Locate the main water supply valve and shut it off.
- Turn off the water supply lines to the sink, dishwasher, and refrigerator.
- Switch off the kitchen breaker to avoid electrical hazards while removing appliances.
This prevents accidental flooding and protects you from electrical shock during removal.
2. Map Out All Plumbing Lines
Use these steps to find out exactly where water lines run:
- Remove cabinet drawers and look behind them for exposed pipes.
- Check under the sink to identify supply lines and the drain trap.
- Use a stud finder with pipe-detection mode if available.
- Review original house plans if you have them.
This helps you know where not to cut, hammer, or pry.
3. Remove Appliances Connected to Water Lines
Handle water-linked appliances carefully:
Dishwasher
- Turn off the water supply.
- Disconnect the water line and drain hose.
- Slowly pull the dishwasher out to avoid stressing the plumbing.
Refrigerator with Ice Maker
- Shut off the water feed line.
- Disconnect it gently before moving the fridge.
Sink and Faucet
- Turn off the hot and cold valves.
- Disconnect the supply lines with a wrench.
- Place a bucket under the P-trap before loosening it to avoid spills.
This stage protects the most sensitive plumbing connections in your kitchen.
4. Remove Cabinets Without Tearing Into Pipes
Upper cabinets are safe to remove first. For base cabinets:
- Unscrew cabinets carefully instead of hitting them with a hammer.
- Check behind the cabinet backing for pipes before prying.
- Avoid cutting into drywall until you confirm there are no pipes behind it.
Many plumbing lines run right behind lower cabinets, so gentle removal is key.
5. Take Off Countertops Carefully
Quartz, granite, laminate, or tile countertops must be detached without torqueing or snapping any pipes below the sink.
- Use a utility knife to cut silicone seals.
- Remove mounting screws under the counter.
- Lift the countertop straight up, not forward.
This prevents accidental strain on sink plumbing.
6. Handle Drywall and Backsplash Removal Slowly
Behind your backsplash lies a wall that may contain:
- Hot and cold supply lines
- Wastewater drain pipes
- Venting pipes
Use these techniques:
- Start with small test holes to see what’s behind the wall.
- Use a pry bar slowly instead of swinging a hammer.
- Cut drywall in sections rather than ripping it down.
Your goal is visibility first, demolition second.
7. Dispose of Materials Safely and Responsibly
Once removal is done, gather and dispose of:
- Old cabinets
- Countertops
- Fixtures
- Drywall
- Broken flooring
Renting a dumpster or calling a professional hauling service makes cleanup fast and safe.
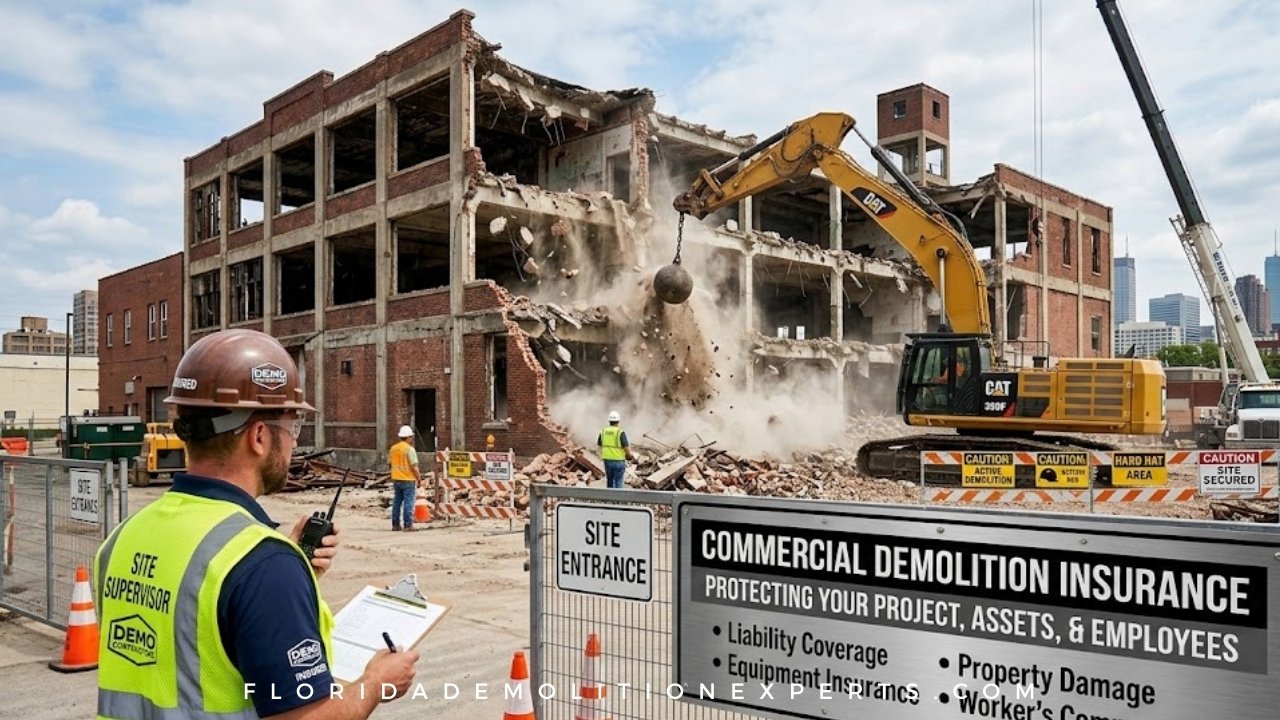
When You Should Call Demolition Professionals
DIY demolition works well for simple cosmetic tasks, but plumbing-heavy kitchens require expert handling. You should hire a professional team when:
- Your home has old or fragile plumbing
- You’re expanding the layout
- Pipes are located inside load-bearing walls
- You want fast, dust-controlled demolition
- You want zero risk of leaks or pipe damage
A licensed demolition crew ensures your renovation starts smoothly with no surprises behind the walls.
Final Thoughts
Kitchen demolition is more than breaking things; it’s a careful process that sets the foundation for a successful remodel. Following proper safety steps and respecting plumbing lines is essential to avoid costly repairs and project delays.
If you want a demolition team that handles everything with expertise, professionalism, and care, Florida Demolition Experts is ready to help.